Not comfortable with the idea of soldering? Try these new solder-less LEDs:
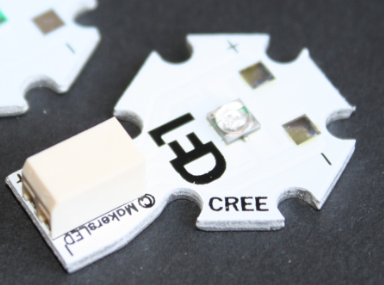 We have developed an LED star board that incorporates connectors for no-solder assembly with any wire length.
Available now, at:

http://www.ledgroupbuy.com/solderless-leds/
Nano Solderless MakersLED Build
Using a red & blue spectrum, great for an algae scrubber or plant grow light
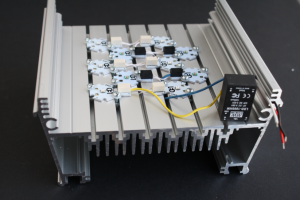
Step 1: Lay out your LEDs.
As you can see, various LED orientations are easily achieved.
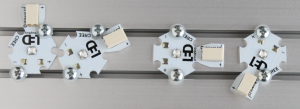
If you don’t have the LEDs or heatsink in hand yet, or you are doing a large build, use one of our worksheets to plan LED layout and wire path. Use a tiny dab of thermal grease or thermal paste under the LED to ensure long life of the LED.
Step 2: Cut the wires to length and strip.
Using the width of the solderless connector as a reference, strip off the insulation (.2″ or 5mm).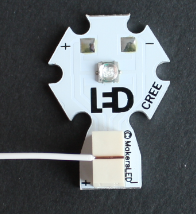
The solderless LEDs accept 18-24AWG solid wire. For our build we used inexpensive 24AWG 6 conductor thermostat cable from our local ACE hardware. Each conductor is colored: We used white between LEDs and the yellow and blue leads attached to the LED driver.
Step 3: Wire the LEDs.
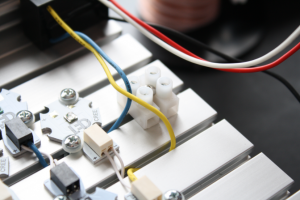
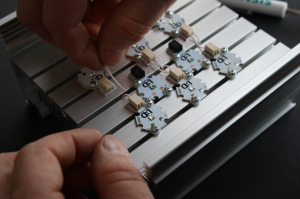 The 24 gauge solid wire easily pushed into the connectors without tools.
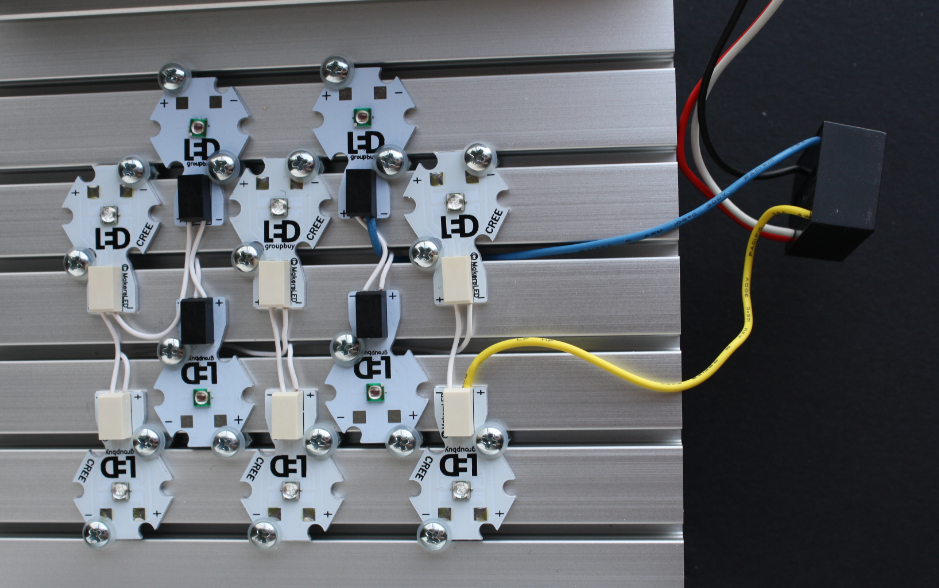 Wire the LEDs in series – Wire the “+” connector of one LED to the “-” connector of another LED… and so on.
To make this build completely solderless, we cut a european terminal strip down to two segments. This provides the interconnect for the 48v supply which powers the Meanwell LDD-700H.
Step 4: Wire the LED power supply to the LEDs.
For our setup, we used an LLD-700HW LED driver which is good for driving up to 14 LEDs. We will not be wiring up the DIM line, so it will default to 100% brightness.
Drill a hole in the endcap for power entry. We used a cord connector to provide strain relief and clean up the hole. The endcap has targets which help you drill a hole in the center.

Step 5: Test and Assemble!
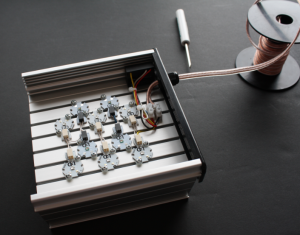
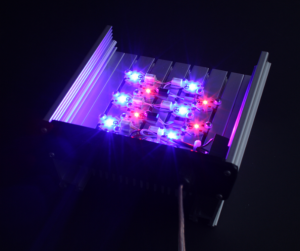
Before installing the included endcaps, acrylic splash guard, fan, ect — Test it!
If you have any problems check to make sure your +’s and -‘s are connected correctly. Lucky for us, it worked the first time ;).
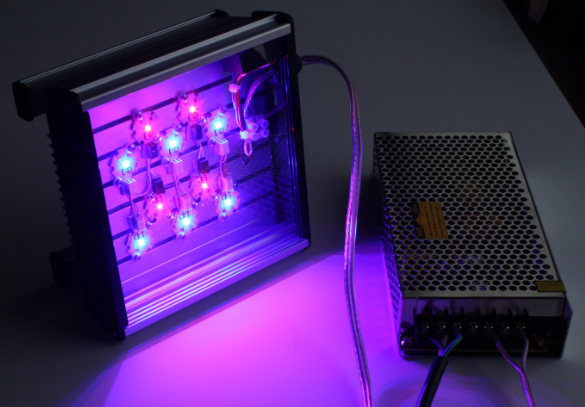
Final Product:
Summary:
Solderless LEDs are a great way to quickly and easily wire your DIY LED light fixture. They require no solder skills and allow you to easily taylor the wire lengths you need.
this unit uses only 48 watts of power, we will not be using a fan for active cooling on this 6″ Nano heat sink.
Tips:
- Use 24 gauge solid core wire (non-stranded).
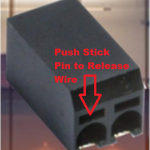
- To remove the wire – Press a stick pin into the hole above the wire to release. Try not to remove the wire more than 5 times or it may lose holding force.
- Double check you have it wired right – especially the power entry wires!
- If you wire the LEDs wrong, they are very forgiving and generally will not be damaged.
- Test everything before installing the endcaps and splash guard!
About MakersLED
The MakersLED aluminum heatsink kit sells for just under $50 per foot. Each kit includes everything but the LEDs and power supply:
- Cut to length anodized heat sink
- LED mounting screws, nuts, & washers (enough for 25 LED’s/ft)
- Acrylic Splash Guard – Plastic End Caps, Rubber t-slot endcap plugs
- 92mm fan 12V with cover (one per ft)
- Stainless steel assembly hardware (for exposed parts)
MakersLED is the only DIY LED heatsink kit on the market that produces a professional finish.

